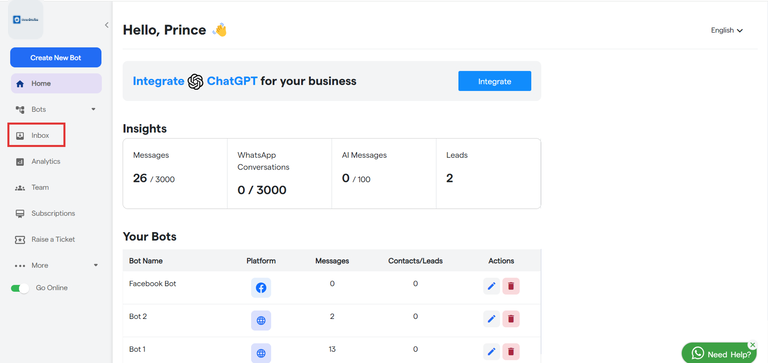
As users interact with your chatbot, it’s crucial to keep track of every conversation. This document will cover all the features of the Inbox that you need to effectively manage user chats.
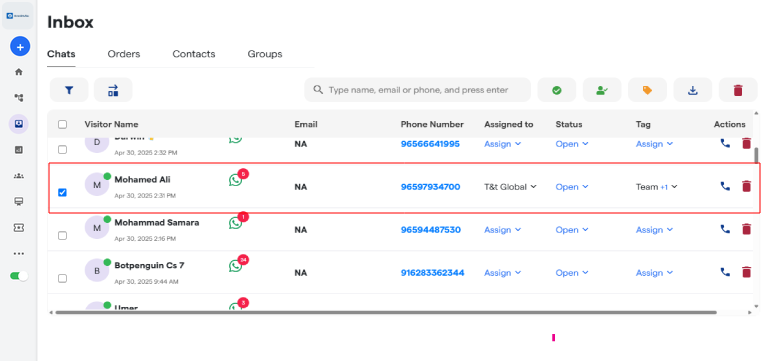
You can view all the chats across all your chatbots here.
You can select any chat you want by clicking on ☑️ icon.
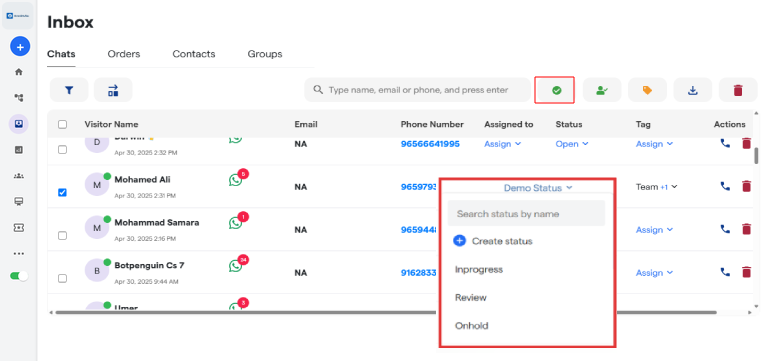
Status: You can assign status to any specific chat like Inprogress, Reviewed or Closed. You can also create your own status according to your requirements.
You can assign a status by selecting it from the dropdown menu.
You can mark the status of any chat as “Closed” by either selecting it from dropdown menu or clicking on the marked button.
Create Status: Click on Create status to start creating new status.
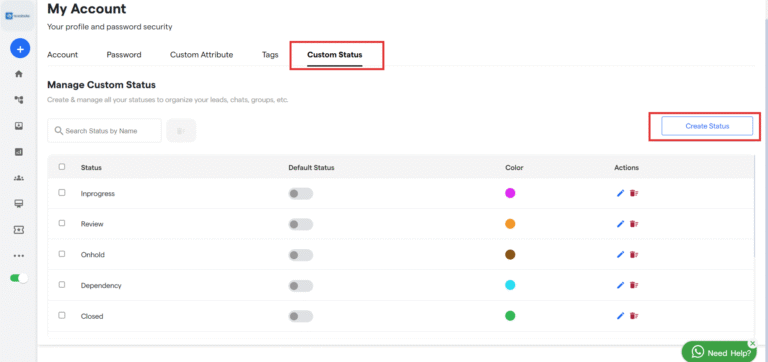
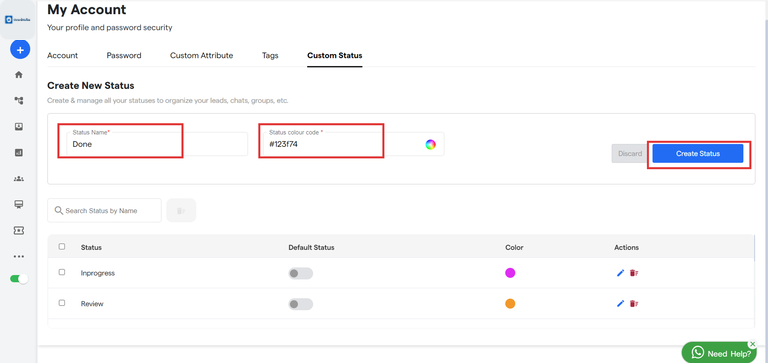
Here you can see all your status you have created. Click on “Create Status”.
Enter Status Name and select the status color code Then click on “Create Status”.
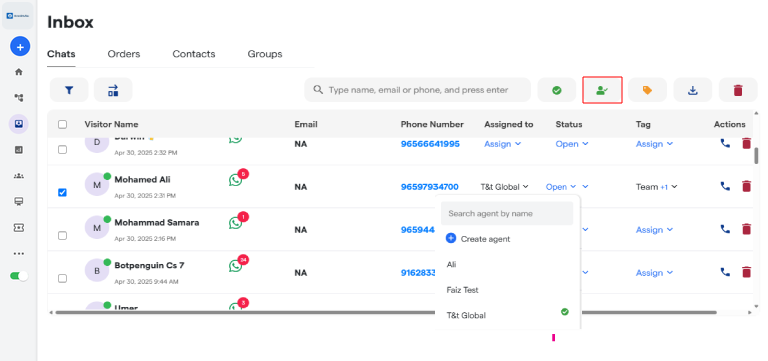
Assign: You can assign any chat to any of your agents. Assigned agent will have the entire access for this chat.
You can assign a status by selecting it from the dropdown menu or by clicking the marked button.
Create Agent: Click on Create Agent to start creating new agent
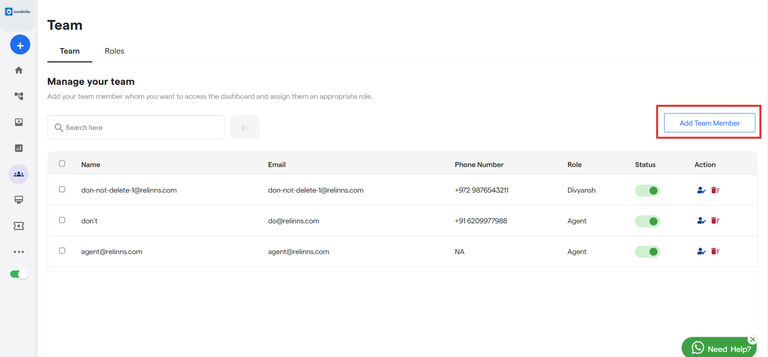
Here you can see all your team members.
Click on “Add Team Member” to start adding new team member.
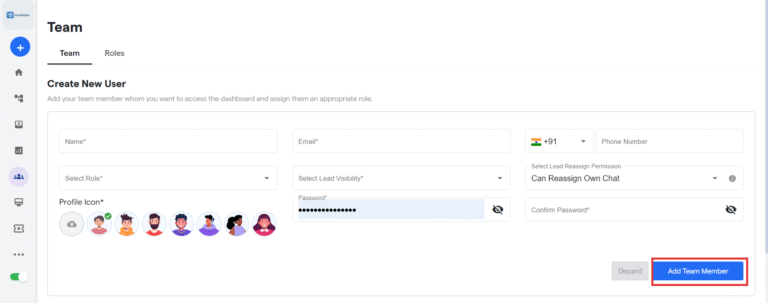
Enter all the details of your team member.
Select Lead Visibility: Select whether you want to give access to all chats or only to assigned chats.
Select Lead Reassign Permission:
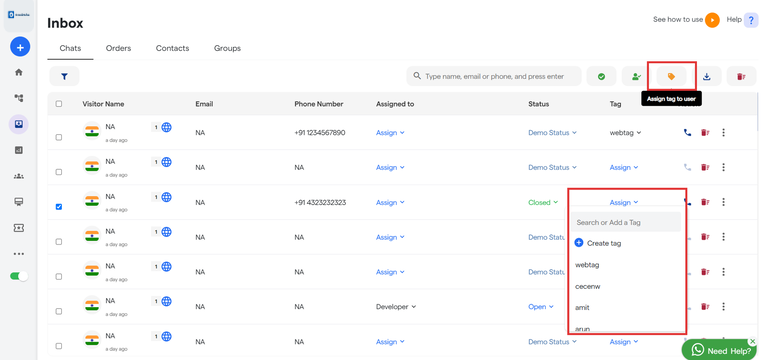
Tags
You can add tag to any chat by selecting from dropdown menu or by clicking the marked button.
You can export the entire data by clicking on the below marked button.
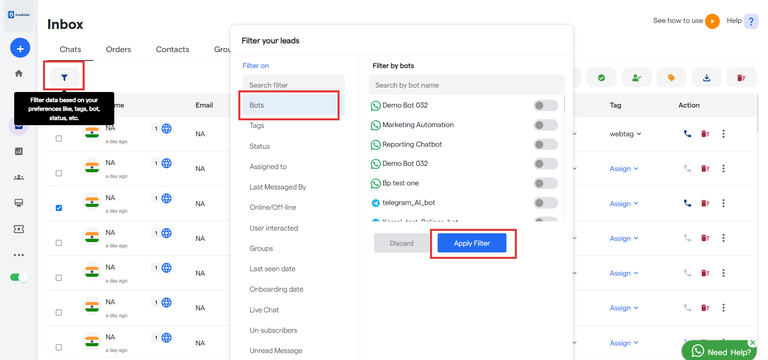
Filter: You can apply filters to view the leads according to your requirements.
Orders: Click on “Orders” to view all your orders.
You can assign “Status” and “Tag” to your orders.
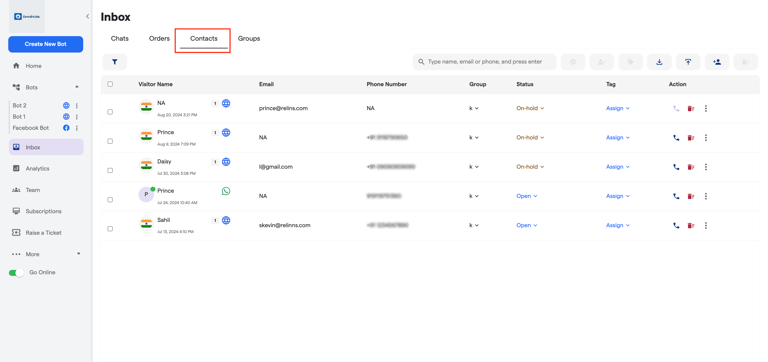
Contacts: You can view all your Leads/Contacts here.
Contacts: Contacts are the new customers who have shared their contact information during a chat with the bot.
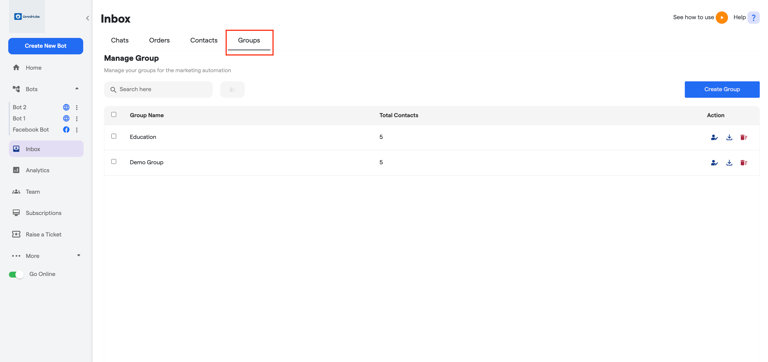
Groups: You can group your leads.
You can view all your groups you have created here.
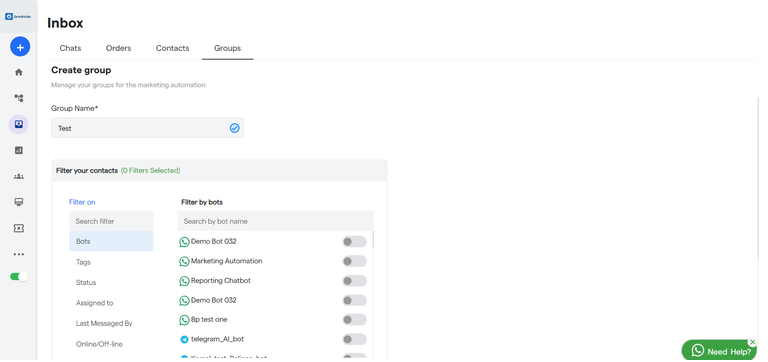
Create Group
Enter Group Name.
Then select the filter and all the contacts that fall under this filter criteria will be added.
You can also assign leads to any specific group.
Select the group using the dropdown menu.
FAQ's:
Can I assign multiple statuses to a single chat?
No, each chat can only have one active status at a time. You can update it as the conversation progresses.
Is it possible to automate assigning statuses based on user actions?
Currently, status assignment is manual. Automation may require integration with custom workflows or external tools.
What’s the difference between “Reviewed” and “Closed” status?
"Reviewed" means the chat has been looked into but may require follow-up. "Closed" means the conversation is considered complete.
How many custom statuses can I create?
There's no hard limit, but for clarity and performance, it's best to keep your list concise and meaningful.
Can chats be reassigned from one agent to another?
Yes, agents with lead reassign permission can reallocate chats to different team members.
What happens if no agent is assigned to a chat?
Unassigned chats remain visible in the inbox but may be missed without proper filters or notifications set up.
Can I export chats with filters applied (e.g., only "Closed" chats)?
Yes, use the filter to view specific chats, then click the export button to download filtered data.
What are tags used for, and can they be customized?
Tags are used to categorize chats by topic, urgency, department, etc. You can customize and apply them as needed.
What’s the difference between Contacts and Leads?
In Omnihubs , Contacts are users who’ve provided their information, whereas Leads may refer more broadly to potential customers in your funnel.
What is the purpose of creating groups under Contacts?
Groups help you segment leads for targeted communication or follow-ups. You can assign leads based on filters like location, behavior, or tag.